Creating a beautiful resin driveway is an excellent investment for any Blackburn home. To help make your journey as smooth as possible, we will walk you through what to expect during the installation process, from consultation to completion.
Consultation and Design
Your resin driveway journey begins with our consultants. During this meeting, you will discuss:
- Your design and colour.
- What you need from your new driveway, for example is it purely decorative?
- We will discuss budgets and our finance options, if applicable
- Dates for starting and finishing.
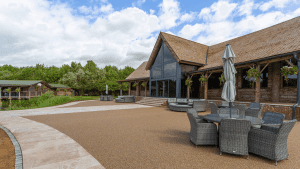
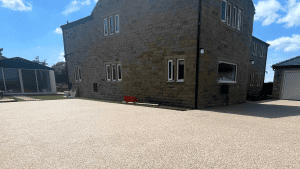
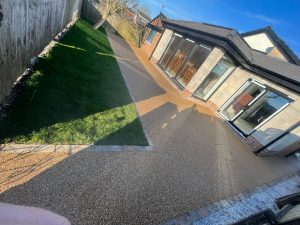
Our Resin driveway installers in Blackburn will provide examples of previous work and offer detailed explanations of the materials and process used in creating your dream driveway.
After we have discussed your requirements, we need to access the site:
- We need to look at your existing driveway condition
- Any potential drainage requirements
- Access points for our installation equipment
- Any other challenges that the site might bring up.
This step is designed so we can create an accurate quotation and identify any potential complications before work has begun and ensure that everyone has a full picture of the task in hand.
In Blackburn, several local regulations may affect your resin driveway installation:
- Blackburn with Darwen Borough Council requires driveways to be permeable or include appropriate drainage solutions to prevent flooding.
- In Blackburn you don’t need planning permission for a resin driveway. However, if you need to drop the kerb alongside your new driveway, you will need to apply for permission from the council.
Site Preparation
Site preparation is arguably the most important phase of installation:
- Excavation: Removal of existing surfaces if necessary (down to minimum of 300mm depth)
- Edging installation: Creating borders to contain the new driveway
- Base layer preparation: Installation of a compacted sub-base (MOT Type 3 with an additional permeable concrete sub-base on top)
- Drainage considerations: Implementation of appropriate drainage solutions
- Primer application: To ensure proper bonding of the resin
This phase can take up to 5 working days on average.
Resin Bound Installation Process
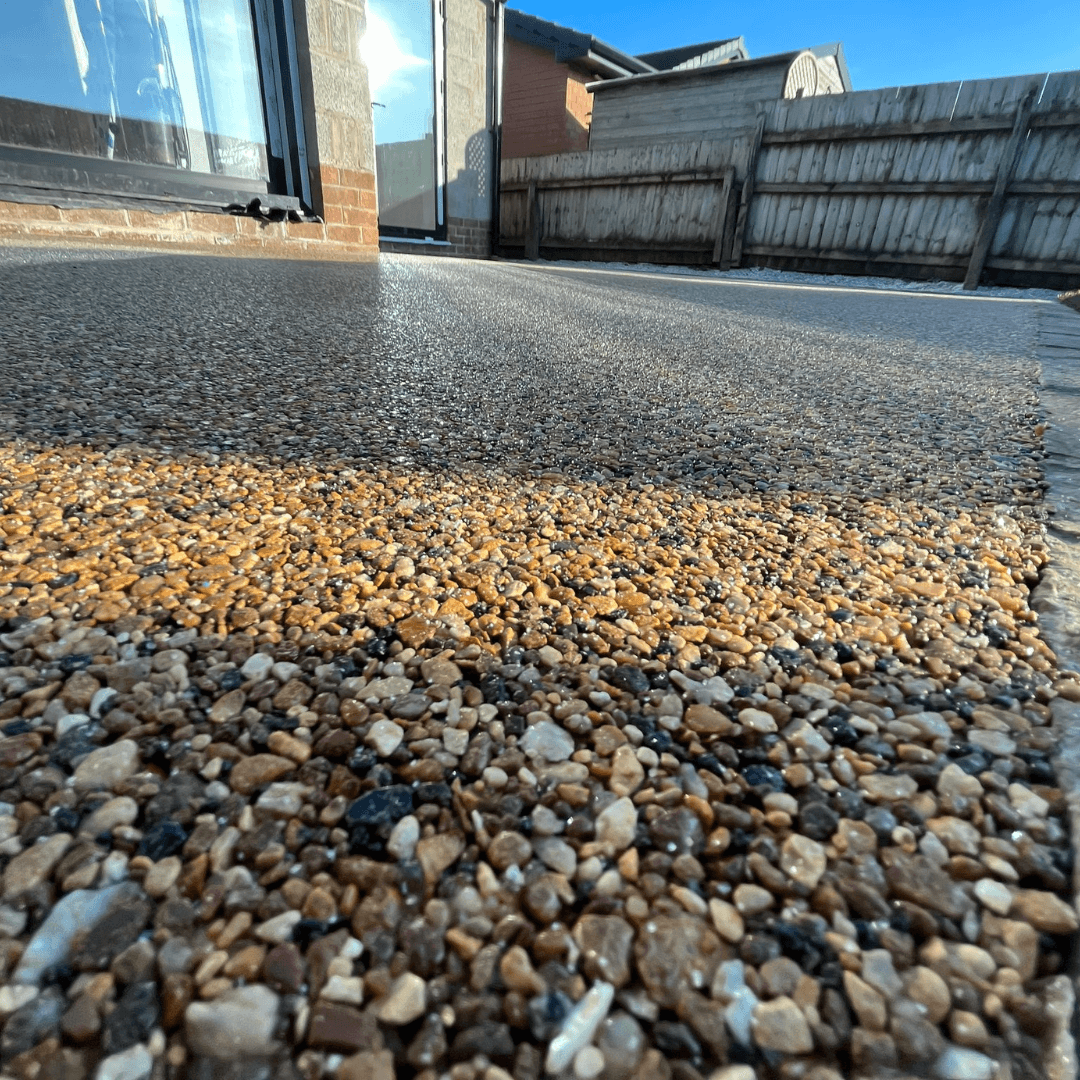
The actual resin installation is amazing to watch, we love it and it’s a simple 3 step process:
- Mixing
- Application
- Finishing
This process must be completed efficiently as the resin has a limited working time once mixed. Typically, this phase takes just one day for an average-sized driveway.
After installation, your beautiful new driveway requires time to cure properly:
- Initial set: The surface becomes touch-dry within a few hours
- Foot traffic: Safe for walking on after 24-48 hours
- Vehicle use: Wait at least 3-5 days before driving on your new surface
- Full cure: Complete hardening takes approximately 7 days
Weather conditions in Blackburn can affect curing times particularly during winter months when lower temperatures may extend the process.
Aftercare and Maintenance
We provide specific aftercare instructions, but generally:
- Regular sweeping to remove debris
- Occasional pressure washing (on a gentle setting)
- Annual inspection and cleaning with appropriate resin-friendly products
- Prompt cleaning of chemical spills to prevent staining
Properly maintained resin driveways in Blackburn typically last 15-20 years before requiring any significant refurbishment.